Audi Q7: Center Console Ambient Lighting Lamp, Removing and Installing
Fiber Optic Cable for Front Center Console Ambient Lighting -W74-, Removing and Installing
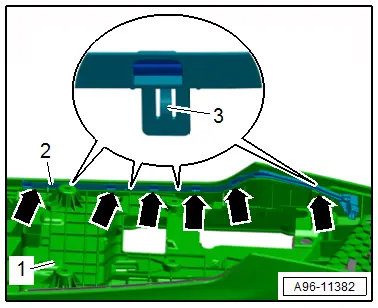
Removing
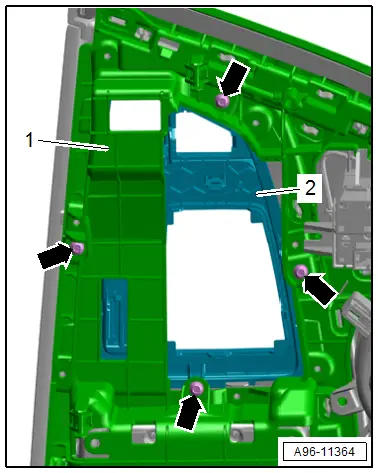
- Remove the center console. Refer to → Body Interior; Rep. Gr.68; Center Console; Center Console, Removing and Installing.
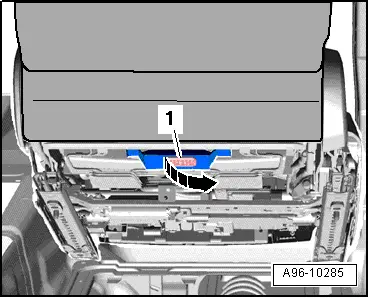
- Release the catch -3- at the locations marked with -arrows-.
- Remove the fiber-optic cable -2- from the center console -1-.
Installing
Install in the reverse order of removal while noting the following:
- Attach the fiber-optic cable until it clicks into place.
Front Center Console Ambient Lighting Bulb 1 -L193-, Removing and Installing
Removing
- Remove the center console insert. Refer to → Body Interior; Rep. Gr.68; Center Console; Center Console Insert, Removing and Installing.
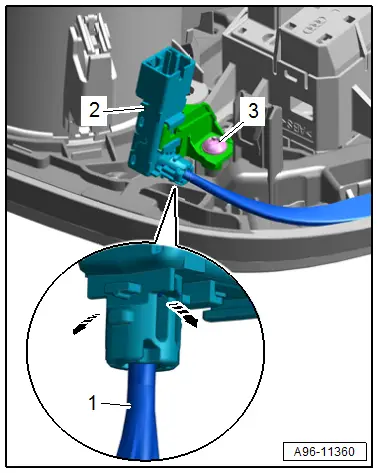
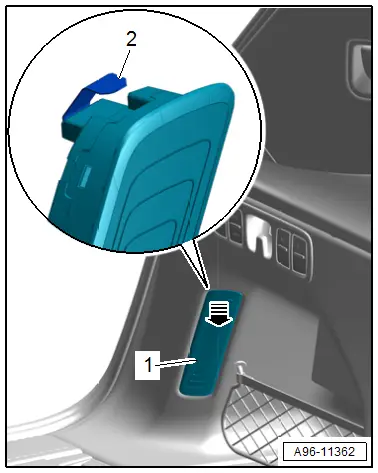
- Remove the bolt -3-.
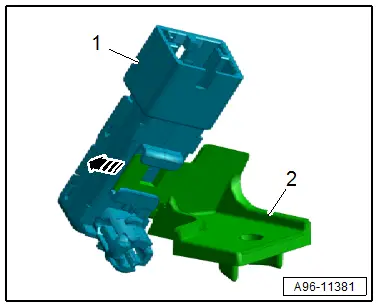
- Release the catches in direction of -arrows- and remove the lamps -2- from the lighting strip -1-.
- Remove the lamp -1- from the mount -2--arrow-.
Installing
Install in reverse order of removal.
Tightening Specifications
- Refer to → Fig. "Tightening Specification of Center Console Ambient Lighting Lamps"
Rear Center Console Ambient Lighting Bulb 1 -L197-, Removing and Installing
Removing
- Remove the center console insert. Refer to → Body Interior; Rep. Gr.68; Center Console; Center Console Insert, Removing and Installing.
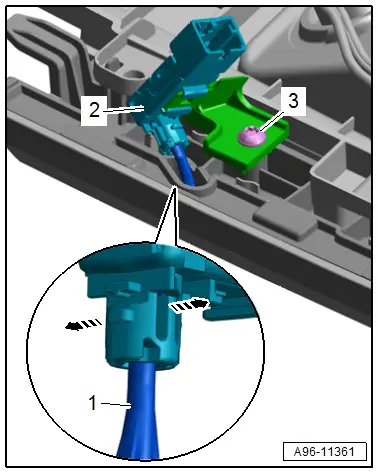
- Remove the bolt -3-.
- Remove the lamp with the fiber-optic cable.
- Release the catches in direction of -arrows- and remove the lamps -2- from the fiber-optic cable -1-.
- Remove the lamp -1- from the mount -2- in direction of -arrow-.

Installing
Install in the reverse order of removal while noting the following:
- Pay attention when inserting the fiber-optic cable that the fiber-optic cable is seated correctly on its mount.
Tightening Specifications
- Refer to → Fig. "Tightening Specification of Center Console Ambient Lighting Lamps"
Selector Lever Transmission Range Display -Y5-, Removing and Installing
Removing
- Remove the center console insert trim. Refer to → Body Interior; Rep. Gr.68; Center Console; Display Control Head Trim, Removing and Installing.
- Remove the electromechanical parking brake button/-Auto Hold- button. Refer to → Chapter "Electromechanical Parking Brake Button -E538-/-AUTO HOLD- Button -E540-, Removing and Installing".
- Remove the bolts -arrows-.
- Remove the selector lever transmission range display -2- from the center console insert -1-.
Installing
Install in reverse order of removal.
Tightening Specifications
- Refer to → Fig. "Tightening Specification Selector Lever Transmission Range Display -Y5-"
Left and Right Rear Footwell Lamp -W45-/-W46-, Removing and Installing
Removing
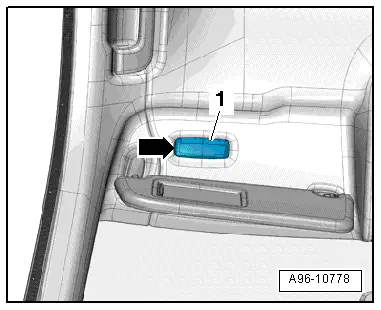
- Carefully pry out the bulb -1- using a flat-head screwdriver in direction of -arrow-.
- Disconnect the connector.
Installing
Install in the reverse order of removal while noting the following:
- The entire footwell lamp must be replaced if an LED is faulty.
- Insert the footwell lamp into the opening and engage on the opposite side.
Luggage Compartment Lamp, Removing and Installing
Left and Right Luggage Compartment Lamp -W18-/-W35-, Removing and Installing
Removing
- Release the retainer -2- with a flat-head screwdriver.
- Pivot the luggage compartment lamp -1- out of the luggage compartment side trim panel in direction of -arrow-.
- Disconnect the connector.
Installing
Install in the reverse order of removal while noting the following:
- Insert the luggage compartment lamp into the opening and engage on the opposite side.
Rear Lid Lamps -W51-/-W101-, Removing and Installing
Removing
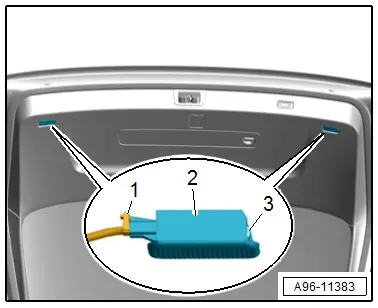
- Press the tab -3- in using a flat-head screwdriver and pry out the rear lid lamp -2-.
- Disconnect the connector -1-.
Installing
Install in the reverse order of removal while noting the following:
- Insert the rear lid lamp into the opening and engage on the opposite side.
Driver and Front Passenger Vanity Mirror Lamp -W20-/-W14-, Removing and Installing
Removing
- Pivot the sun visor forward.
- Carefully pry out the vanity mirror lighting -1- at the opening -arrow- using a flat-head screwdriver.
- Disconnect the connector.
Installing
Install in the reverse order of removal while noting the following:
- Insert the vanity mirror lighting into the opening and engage it on the opposite side.

