Audi Q7: Fuel Filler Door Lock Motor -V155-, Removing and Installing
Removing
- Remove the fuel filler door unit. Refer to → Chapter "Fuel Filler Door Unit, Removing and Installing".
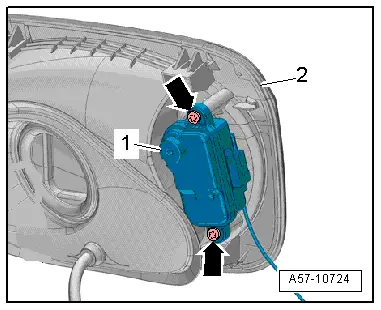
- Remove the bolts -arrows-.
- Remove the fuel filler door lock motor -1- with the emergency release cable from the fuel filler door unit -2-.
- If the fuel filler door lock motor is being replaced, remove the emergency release cable for the fuel filler door lock. Refer to → Chapter "Cable for Fuel Filler Door Locking Mechanism, Removing and Installing".
Installing
Install in reverse order of removal.
Tightening Specifications
- Refer to → Chapter "Overview - Fuel Filler Door Unit"
High-Voltage Charge Door Lock 1 Adjuster -F496-, Removing and Installing
Removing
- Remove the luggage compartment left trim panel. Refer to → Body Interior; Rep. Gr.70; Luggage Compartment Trim Panels; Luggage Compartment Side Trim Panel, Removing and Installing.
- Remove the nut -1-.
- Release the retainers -arrows-.
- Remove fuse panel F -item 2- to the right.
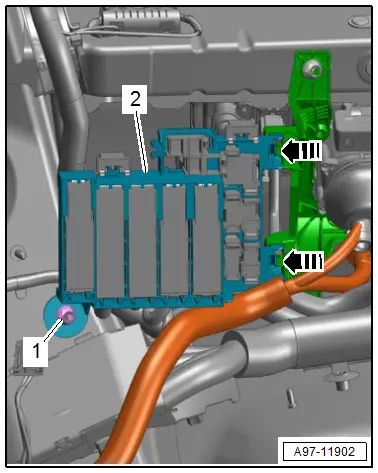
- Remove the bolts -arrows-.
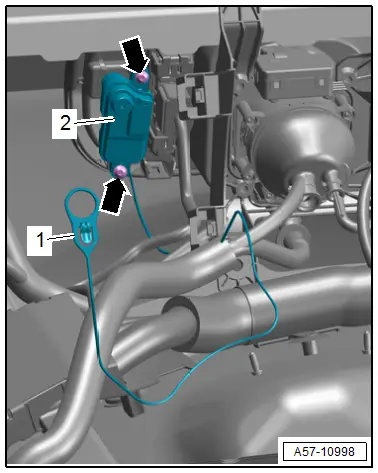
- Remove the high-voltage charge door lock adjuster -2- with the emergency release cable -1- from the charge door unit.
- If the high-voltage charge door lock adjuster is replaced, then remove the charge door lock emergency release cable. Refer to → Chapter "Cable for Fuel Filler Door Locking Mechanism, Removing and Installing"
Installing
Install in reverse order of removal.
Tightening Specifications
- Refer to → Chapter "Overview - Charge Door Unit"
- Refer to → Electrical Equipment; Rep. Gr.97; Relay Panels, Fuse Panels, E-Boxes; Component Location Overview - Relay Panels, Fuse Panels, E-Boxes.
Special Tools
Special tools and workshop equipment required
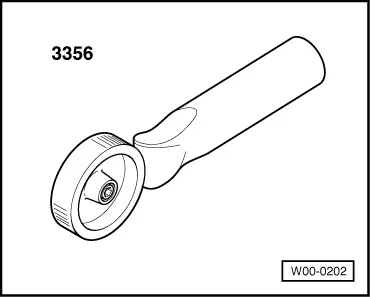
- Roller -3356-
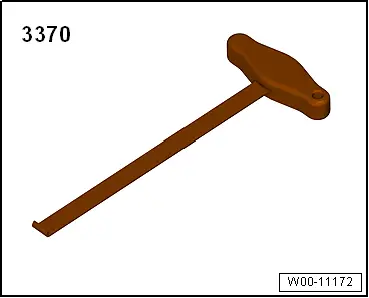
- Backrest Panel Tool -3370-
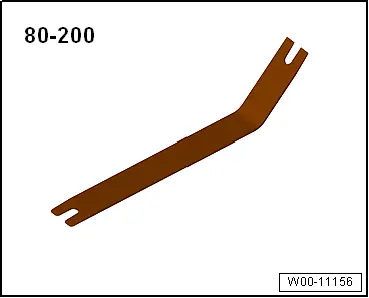
- Pry Lever -80-200-
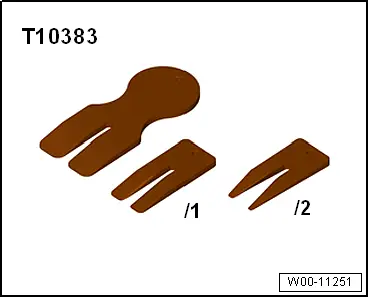
- Wedge Set -T10383-
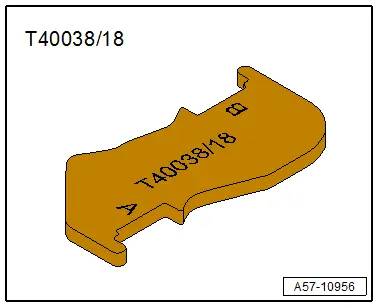
- Template -T40038/18-
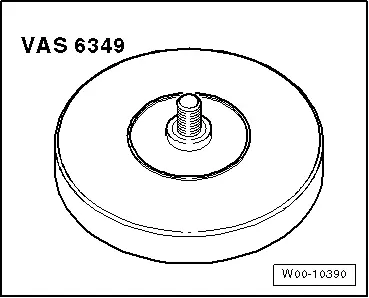
- Adhesive Strip Remover -VAS6349-
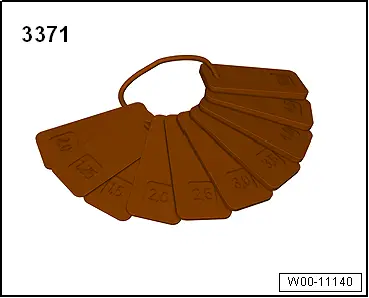
- Gauge - Gap Adjustment -3371-