Audi Q7: Plenum Chamber End Plate Lower Cover, Removing and Installing
Plenum Chamber End Plate Lower Cover, Removing and Installing, Left Side
Removing
- Remove plenum chamber sealing cover. Refer to → Chapter "Plenum Chamber End Plate, Removing and Installing".
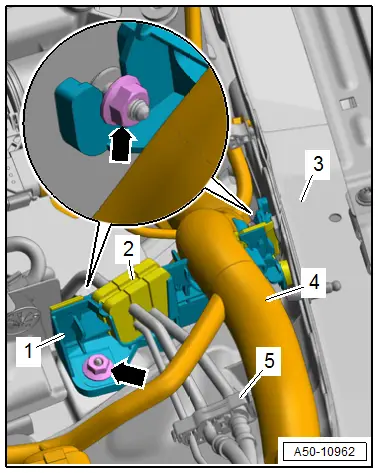
- Open the cable bracket -5- and free up the brake lines with the grommet -2-.
- Remove the nuts -arrows-.
- Free up the wiring harness -4-.
- Lift the cover -1- and remove it from the body -3-.
Installing
Install in reverse order of removal.
Tightening Specifications
- Refer to → Chapter "Overview - Bulkhead"
Plenum Chamber End Plate Lower Cover, Removing and Installing, Right Side
Removing
- Remove plenum chamber sealing cover. Refer to → Chapter "Plenum Chamber End Plate, Removing and Installing".
- Remove the fresh air intake. Refer to → Heating, Ventilation and Air Conditioning; Rep. Gr.87; Air Ducts; Fresh Air Intake, Removing and Installing.
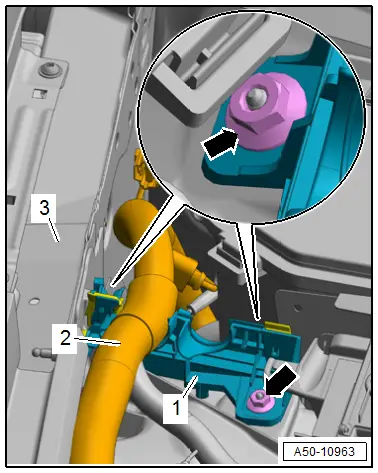
- Remove the nuts -arrows-.
- Free up the wiring harness -2-.
- Lift the cover -1- and remove it from the body -3-.
Installing
Install in reverse order of removal.
Tightening Specifications
- Refer to → Chapter "Overview - Bulkhead"
Plenum Chamber Cover, Removing and Installing
Removing
- Remove the windshield wiper arms. Refer to → Electrical Equipment; Rep. Gr.92; Windshield Wiper System; Windshield Wiper Arms, Removing and Installing.
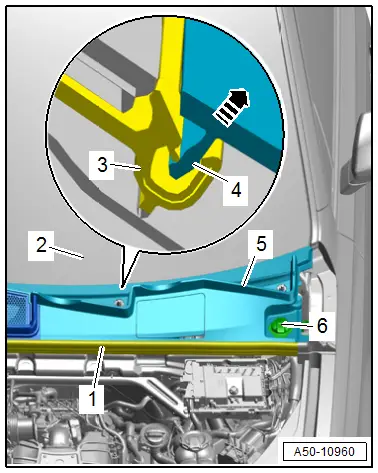
- Open the cap -6- for the filler neck.
- Remove the seal -1-.
- Coat the transition between the windshield -2- and the plenum chamber cover -5- with some soapy water. Starting at the window edge, carefully remove the plenum chamber cover vertically upward from the retainer on the windshield.
- Remove the plenum chamber cover -5- by carefully removing the plenum chamber cover tab -4- in the -direction of the arrow- from the windshield mount -3-.
Installing
Install in reverse order of removal and note the following:
- The plenum chamber cover tab must be completely engaged in the windshield frame.
 Note
Note
If the plenum chamber cover is damaged or mounted incorrectly, water can flow into the fresh air intake duct. This can lead to complaints regarding odor coming from the heater/A/C system and/or moisture in the vehicle interior.
Special Tools
Special tools and workshop equipment required
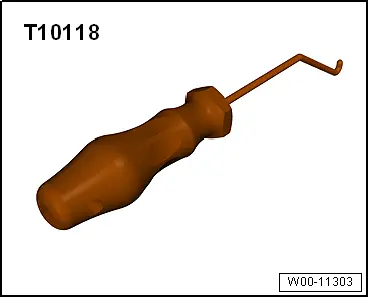
- Elbow Assembly Tool -T10118-
- Coolant Collecting System -VAS5014-
- Engine Bung Set -VAS6122-