Audi Q7: Water Drain Hoses
Overview - Water Drain Hoses
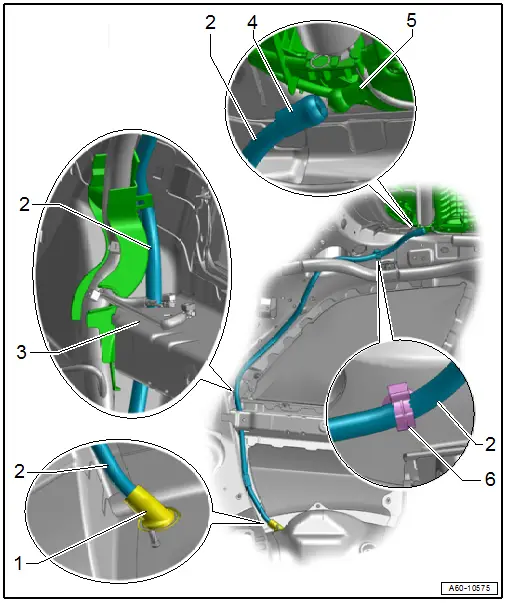
Overview - Water Drain Hoses, Front

1 - Grommet
- Push all the way into the body using a soap solution
2 - Front Water Drain Hose
- Cleaning. Refer to → Chapter "Water Drain Hoses, Cleaning".
- Removing and Installing. Refer to → Chapter "Front Water Drain Hoses, Removing and Installing".
3 - Clip
- For the water drain hose
- The mark on the hose must rest in the clip
4 - Coupling Piece
- Attach to the connection
5 - Connection
- On the sunroof frame
6 - Guide
- For the water drain hose
Overview - Water Drain Hoses, Rear
1 - Grommet
- Push all the way into the body using a soap solution
2 - Rear Water Drain Hose
- Cleaning. Refer to → Chapter "Water Drain Hoses, Cleaning".
- Removing and Installing. Refer to → Chapter "Rear Water Drain Hoses, Removing and Installing".
3 - Longitudinal Reinforcement
- With cut-out for the water drain hose
- only on the left side of the vehicle
4 - Coupling Piece
- Attach to the connection
5 - Connection
- On the sunroof frame
6 - Clip
- For the water drain hose
- The mark on the hose must rest in the clip
Water Drain Hoses, Cleaning
Special tools and workshop equipment required
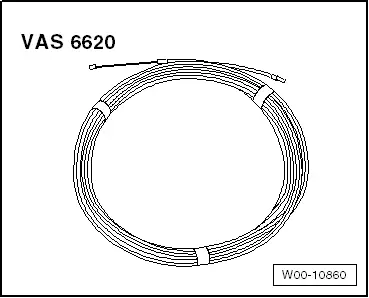
- Drain Snake -VAS6620-
Front Water Drain Hoses
Routing of front water drain hoses. Refer to → Chapter "Overview - Water Drain Hoses, Front".
- Open the sunroof panel.
- Using the -VAS6620-, start cleaning from the upper end of the hose.
Rear Water Drain Hoses
Routing of rear water drain hoses. Refer to → Chapter "Overview - Water Drain Hoses, Rear".
- Remove the rear wheel housing liner. Refer to → Chapter "Rear Wheel Housing Liner, Removing and Installing".
- Using the -VAS6620-, start cleaning from the lower end of the hose.
 Note
Note
With the rear glass panel removed, the rear water drain hoses can also be cleaned from above. Refer to → Chapter "Glass Panel, Removing and Installing, Rear".
Water Drain Hoses, Removing and Installing
Front Water Drain Hoses, Removing and Installing
Special tools and workshop equipment required
- Angled Screwdriver -VAS6416-
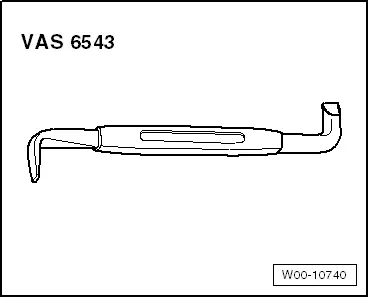
- Removal Wedge -T40233-
Removing
- Remove the front interior lamp/reading lamp. Refer to → Electrical Equipment; Rep. Gr.96; Controls; Front Interior Lamp/Reading Lamp, Removing and Installing.
- Remove the left and right sun visors. Refer to → Body Interior; Rep. Gr.68; Equipment; Sun Visor, Removing and Installing.
- Remove the center support for the sun visor. Refer to → Body Interior; Rep. Gr.68; Vehicle Equipment; Sun Visor Center Support, Removing and Installing.
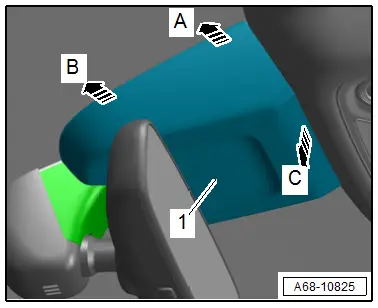
Versions with Driver Assistance Systems Front Camera:
- To unclip the cover -arrows A, B and C-, insert the -VAS6416- carefully between the windshield and the cover.
- Repeat the procedure on the opposite side.
- Disengage the front of the cover -1- and remove it toward the rear.
Continuation for All Vehicles:
- Remove the left and right A-pillar trim panel. Refer to → Body Interior; Rep. Gr.70; Vehicle Interior Trim Panels; A-Pillar Trim Panel, Removing and Installing.
- Remove the left and right front roof grab handle. Refer to → Body Interior; Rep. Gr.68; Equipment; Roof Grab Handle, Removing and Installing.
- Remove the left and right B-pillar upper trim panel. Refer to → Body Interior; Rep. Gr.70; Vehicle Interior Trim Panels; B-Pillar Trim Panel, Removing and Installing.
- Open the sun shade.
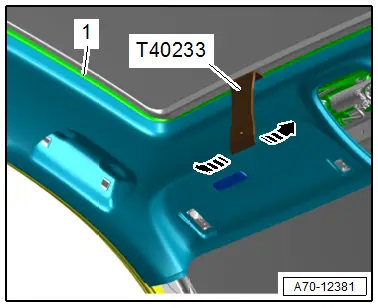
- To avoid dirtying the headliner, clean the -T40233-.
- Push the -T40233- between the frame -1- for the panorama roof and the headliner.
- Using the -T40233-, loosen the headliner at the front from the frame for the Panorama roof -arrows-.
- Lower the headliner on the corresponding side.
- Remove the water drain hose from the sliding sunroof and free it up at the clips and guides.
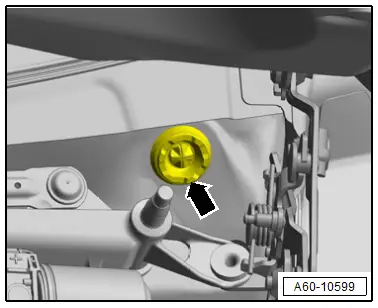
- For guiding the new water drain hose in later, insert an approximately 500 mm long wire through the grommet -arrow- into the water drain hose.
- Loosen the grommet on the plenum chamber and remove it from the water drain hose.
- Remove the water drain hose toward the inside while holding the wire at the same time.
Installing
Install in reverse order of removal and note the following:
- Insert the water drain hose using the guide wire.
- Push the grommet onto the water drain hose and carefully insert it into the plenum chamber.
- Engage the water drain hose into all clips and guides.
- The marking on the hose must come to rest in the clip above the windshield.
Rear Water Drain Hoses, Removing and Installing
Special tools and workshop equipment required
- Removal Wedge -T40233-
Removing
- Remove the D-pillar trim panels on the affected side. Refer to → Body Interior; Rep. Gr.70; Vehicle Interior Trim Panels; D-Pillar Trim Panel, Removing and Installing.
- Remove the C-pillar trim panel on the affected side. Refer to → Body Interior; Rep. Gr.70; Vehicle Interior Trim Panels; C-Pillar Trim Panel, Removing and Installing.
- Remove the roof grab handle from the affected side. Refer to → Body Interior; Rep. Gr.68; Equipment; Roof Grab Handle, Removing and Installing.
- To avoid dirtying the headliner, clean the -T40233-.
- Push the -T40233- between the frame -1- for the panorama roof and the headliner.
- Using the -T40233-, loosen the headliner at the rear from the frame for the Panorama roof -arrows-.
- Lower the headliner on the corresponding side.
- Remove the rear wheel housing liner from the corresponding side. Refer to → Chapter "Rear Wheel Housing Liner, Removing and Installing".
- Disengage the grommet from the rear wheel housing.
- Remove the water drain hose.

Installing
Install in reverse order of removal and note the following:
- Insert the water drain hose using the guide wire.
- Push the grommet onto the water drain hose and carefully insert it into the plenum chamber.
- Engage the water drain hose into all clips and guides.
- The marking on the hose must come to rest in the upper clip on the rear side window.
- Insert the grommet carefully into the wheel housing.
Special Tools
Special tools and workshop equipment required
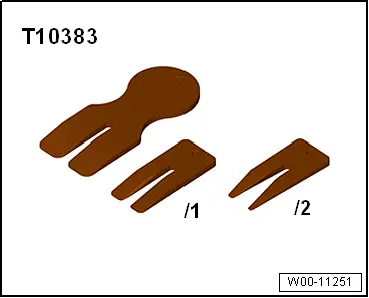
- Wedge Set -T10383/1-
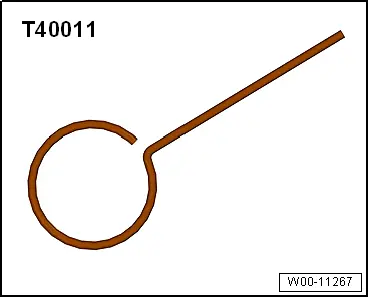
- Locking Pin (3 pc.) -T40011-
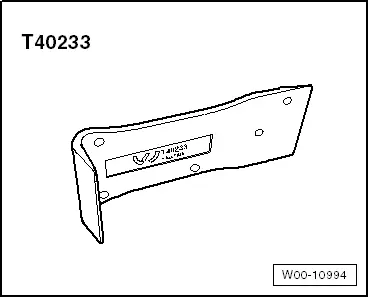
- Removal Wedge -T40233-
- Wiring Harness Repair Set - Hot Air Blower -VAS1978/14A-
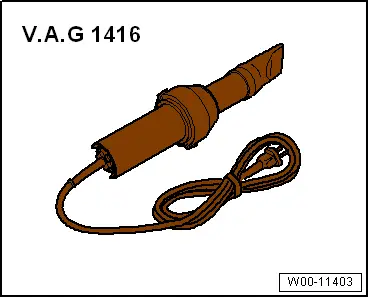
- Angled Screwdriver -VAS6416-
- Drain Snake -VAS6620-
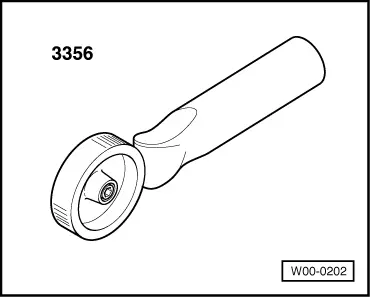
- Roller -3356-
- 5 mm Socket
- 5 mm Open End Wrench